If you’ve been following my last few streams (and you should have been) you would have seen me creating some cool looking art by transferring a laser print-out of one of my drawings onto a coffee cup using Liquitex Matte Medium. Like this one here –
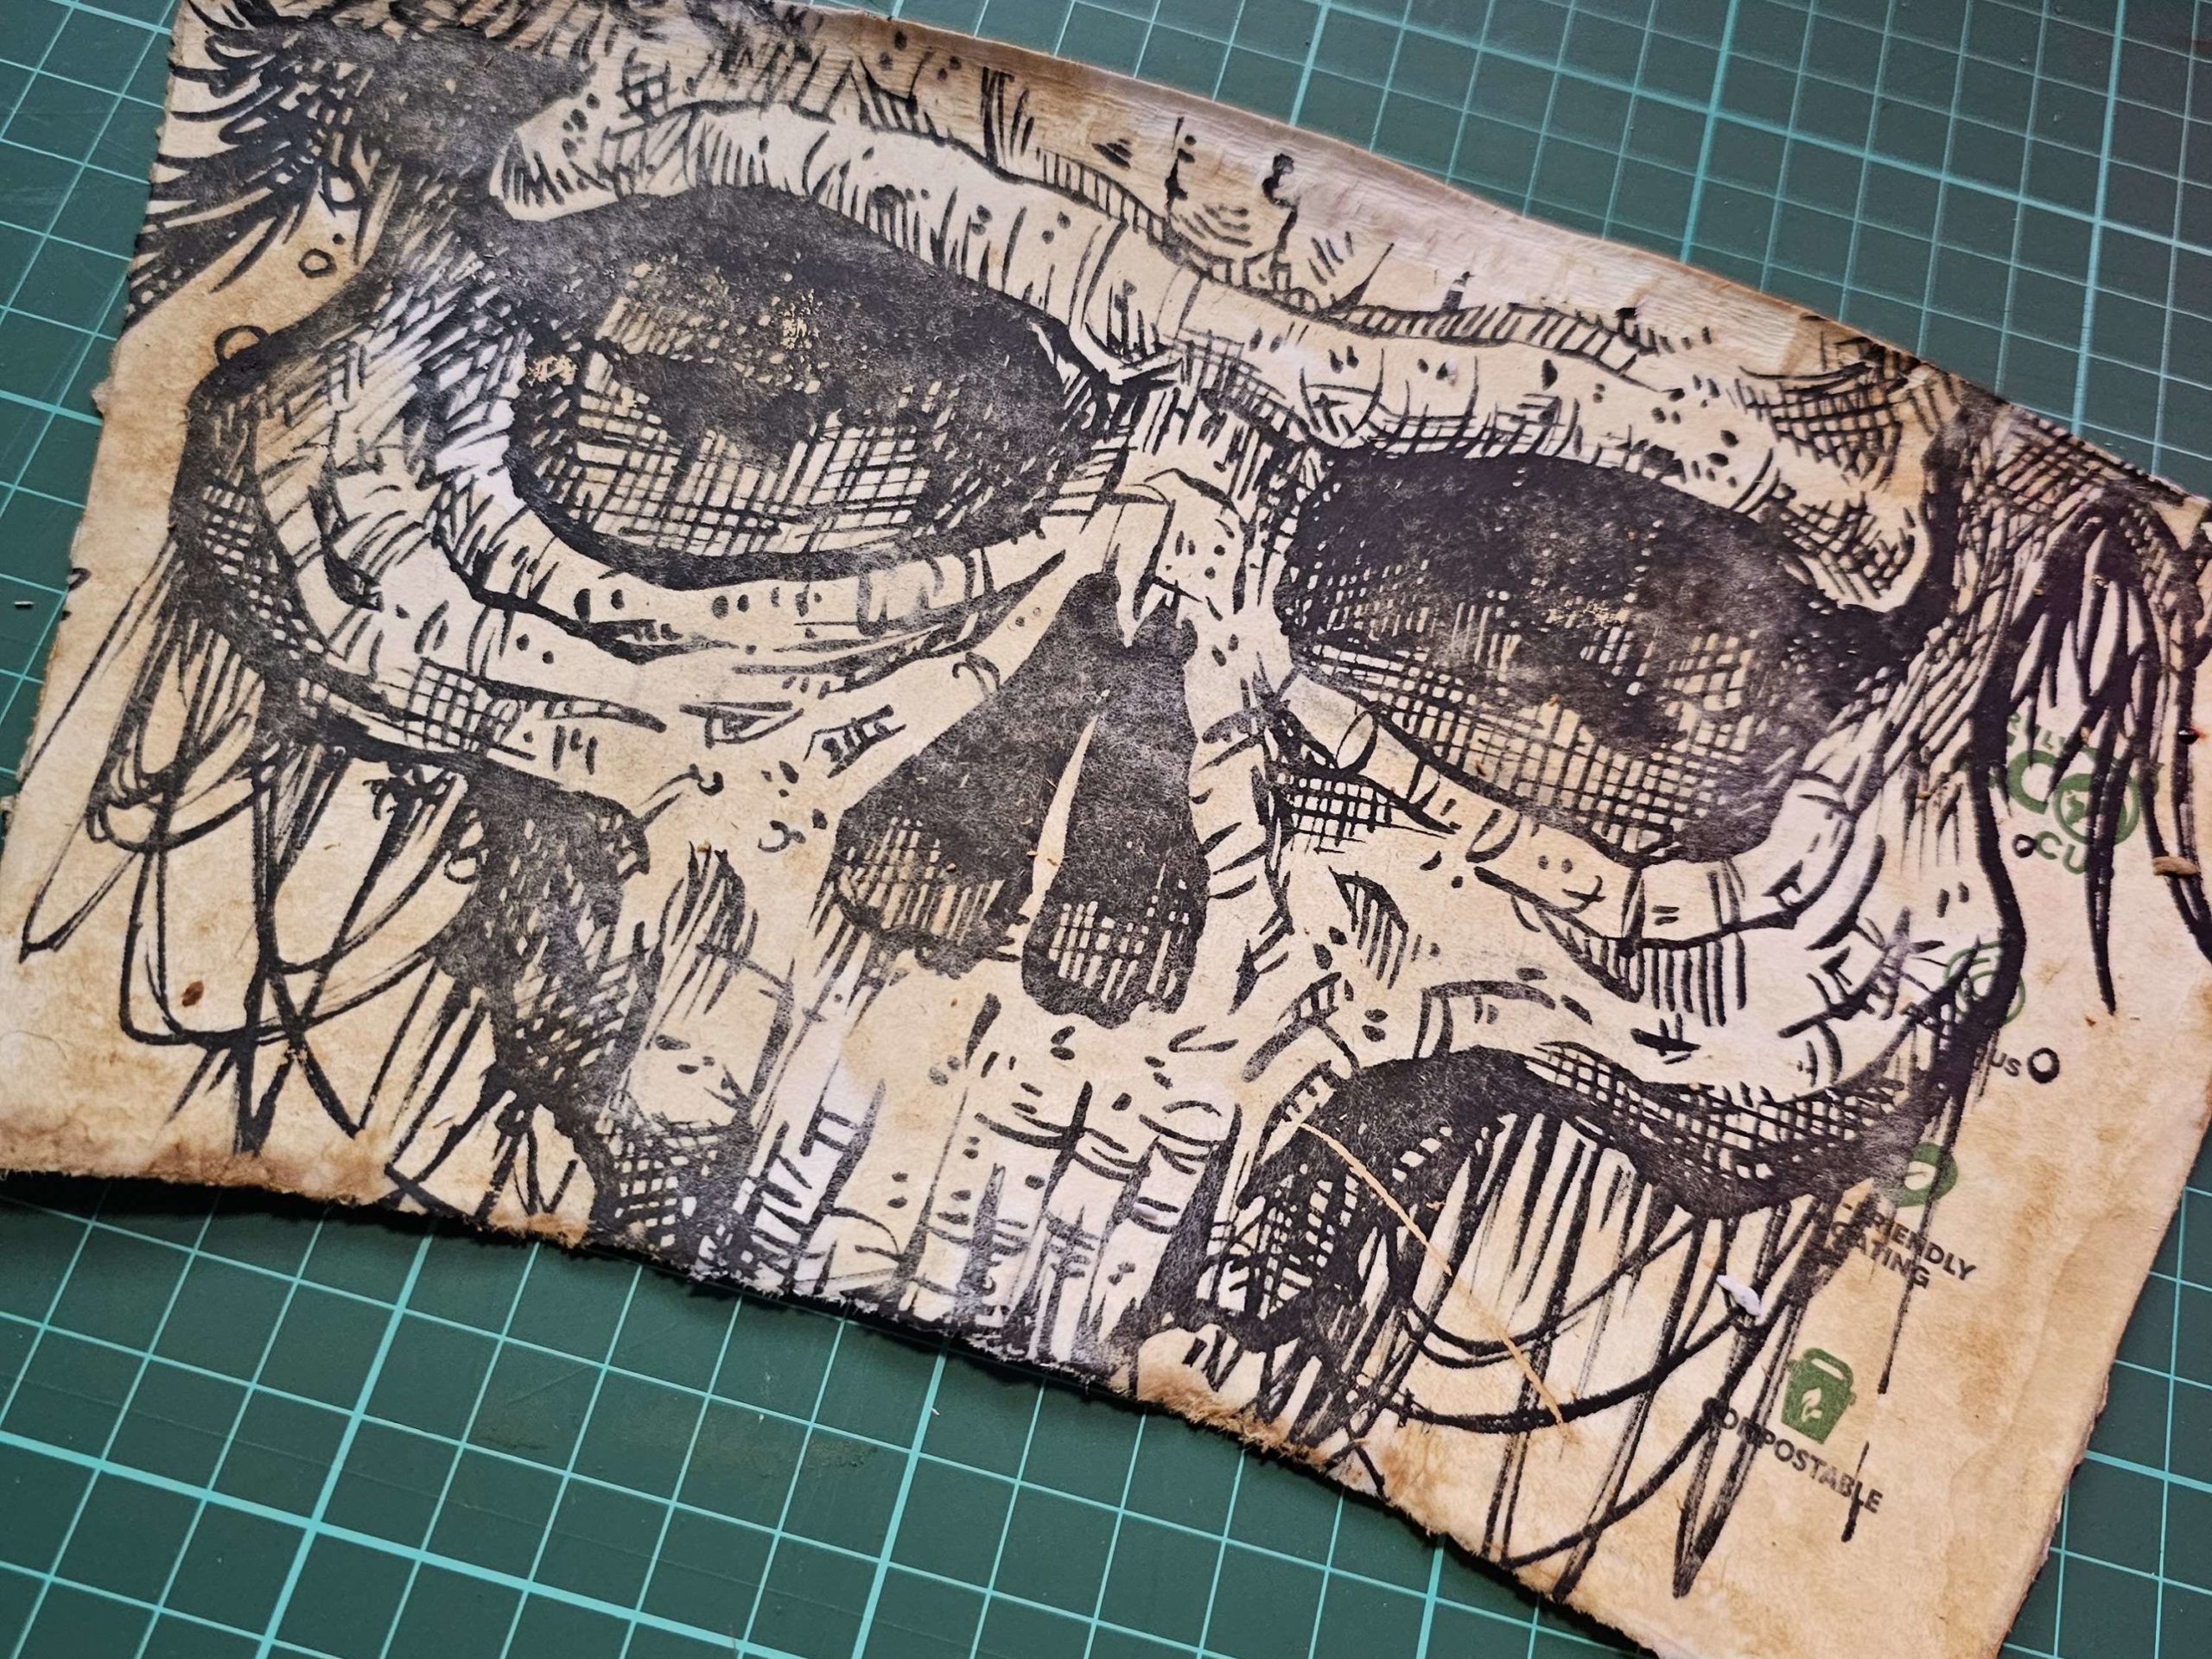
I chose to use a disposable coffee cup for mine because really, we throw so many of these things away. I feel like as artists we could make more of an effort to reuse and recycle things we find around us to create something new and wonderful rather than just throwing them away without a thought.
In fact, back in 2017 the ABC ran a program called War on Waste which had a segment where they filled a Melbourne tram up with 50,000 disposable coffee cups, which is how many are disposed of in Australia every THIRTY MINUTES. That’s insane.
But anyway, this isn’t an online recipe, I’m not going to make you read my life story and philosophy on the state of the world before getting to the stuff you’re really interested in.
So here’s everything you need to know about doing it along with a link to a couple of the products (links are Amazon affiliate links, so I make a little money if you click ’em and buy from there…I will work to make my links look a little less messy I promise) and a quick video showing the steps edited from my Twitch stream.
Materials
- Your surface of choice, mine was an old paper coffee cup
- A laser print of your work
- Foam Brushes
- Matte Medium (I used Liquitex)
- Water
- A sponge or cloth
Process
Step 1 – Prepare your surface. For the example here, I have used a disposable coffee cup which I have taken apart and flattened. If you want a white background for your image and you are using anything else like a wooden surface, you will need to put down a base coat of white and let it dry first.
Step 2 – Prepare your image. You will need to have a print out of your image that has been printed on a laser printer. I’d like to go into the science of why this is, but that’s just how I was taught, so that’s what I’m going with. I assume it’s because toner is powder that is baked onto paper with heat when you print, rather than ink soaking into paper like an inkjet print is. So the actual baked toner is what you are transferring onto the surface. But don’t quote me on that. One other thing to note is, you will be seeing the mirror of your image. So if you want it to face a certain way or have text on it, be sure to print it out flipped horizontally.
Step 3 – Apply the matte medium to your surface. Make sure you give a good liberal coating of matte medium onto your surface so there is a decent amount of it to grab onto the image in the next step.
Step 4 – Apply the image to the surface. Take your printed picture and place it face down into the still-wet matte medium and give it a good smoothing out to get rid of bubbles and make sure it is firmly applied to the surface and embedded in the matte medium.
Step 5 – Wait for it to dry. You heard me.
Step 6 – Wet and wipe baby. Take some water and a cloth or sponge and gently wet the back of the paper. Using circular motions, rub away at the backing of the image. You will see the image start to show through and the paper will turn to wet pulp and start to peel and rub away from the surface, hopefully leaving an awesome looking transfer of your image on the surface! Now just let it dry out.
Step 7 (Optional) – Embellish. If you want to add any colour or extra artistic flair to your piece, in the video example I stained mine with dissolved coffee. You can use ink washes, paint, markers, glue extra stuff on, decoupage, gold leaf, whatever you want. You’re the artist!
Step 8 – Seal it. Once everything is dry, apply another coat of the matte medium to the image, which will help seal it and avoid any of the transfer coming off and generally protect the surface. Matte medium gives that cool matte surface, but you could also probably varnish it at this point if you wanted to live that gloss life. You decide. YOU’RE THE ARTIST!
Video
So that’s it. Get out there and get creating! It’s not hard, but it is a bit messy. Thanks for checking it out, be sure to come and follow me on Twitch if you’re not already, and don’t forget that I’m currently giving away free stickers if you order my clearance bundle of prints, but they won’t last long! You can read all about it here.
Leave a Comment